In this article:
Microsoft 365 groups are a powerful tool for improving collaboration among users in your organization. They provide a shared workspace for emails, files, conversations, calendar events, Stream (on SharePoint), and Planner.
You can add people from outside your organization to a group as long as this option has been enabled by the administrator. You can also allow external senders to send emails to the group email address. For more information, please refer to the Manage guest access in Microsoft 365 groups article.
Microsoft 365 groups can be configured for dynamic membership in Microsoft Entra ID, allowing group members to be added or removed automatically based on user attributes such as department, location, title, etc. For more details, please refer to Change static groups to dynamic membership groups in Microsoft Entra ID article.
Microsoft 365 groups can be accessed through mobile apps such as Outlook for iOS and Outlook for Android.
Group members can “Send as” or “Send on behalf of” the group email address if this feature is enabled by the administrator.
Microsoft 365 group owners and members are automatically mapped to SharePoint site Owners and Members. For additional permissions, you may also add groups to SharePoint Visitors if needed. For more information, please refer to the Microsoft 365 Groups documentation.
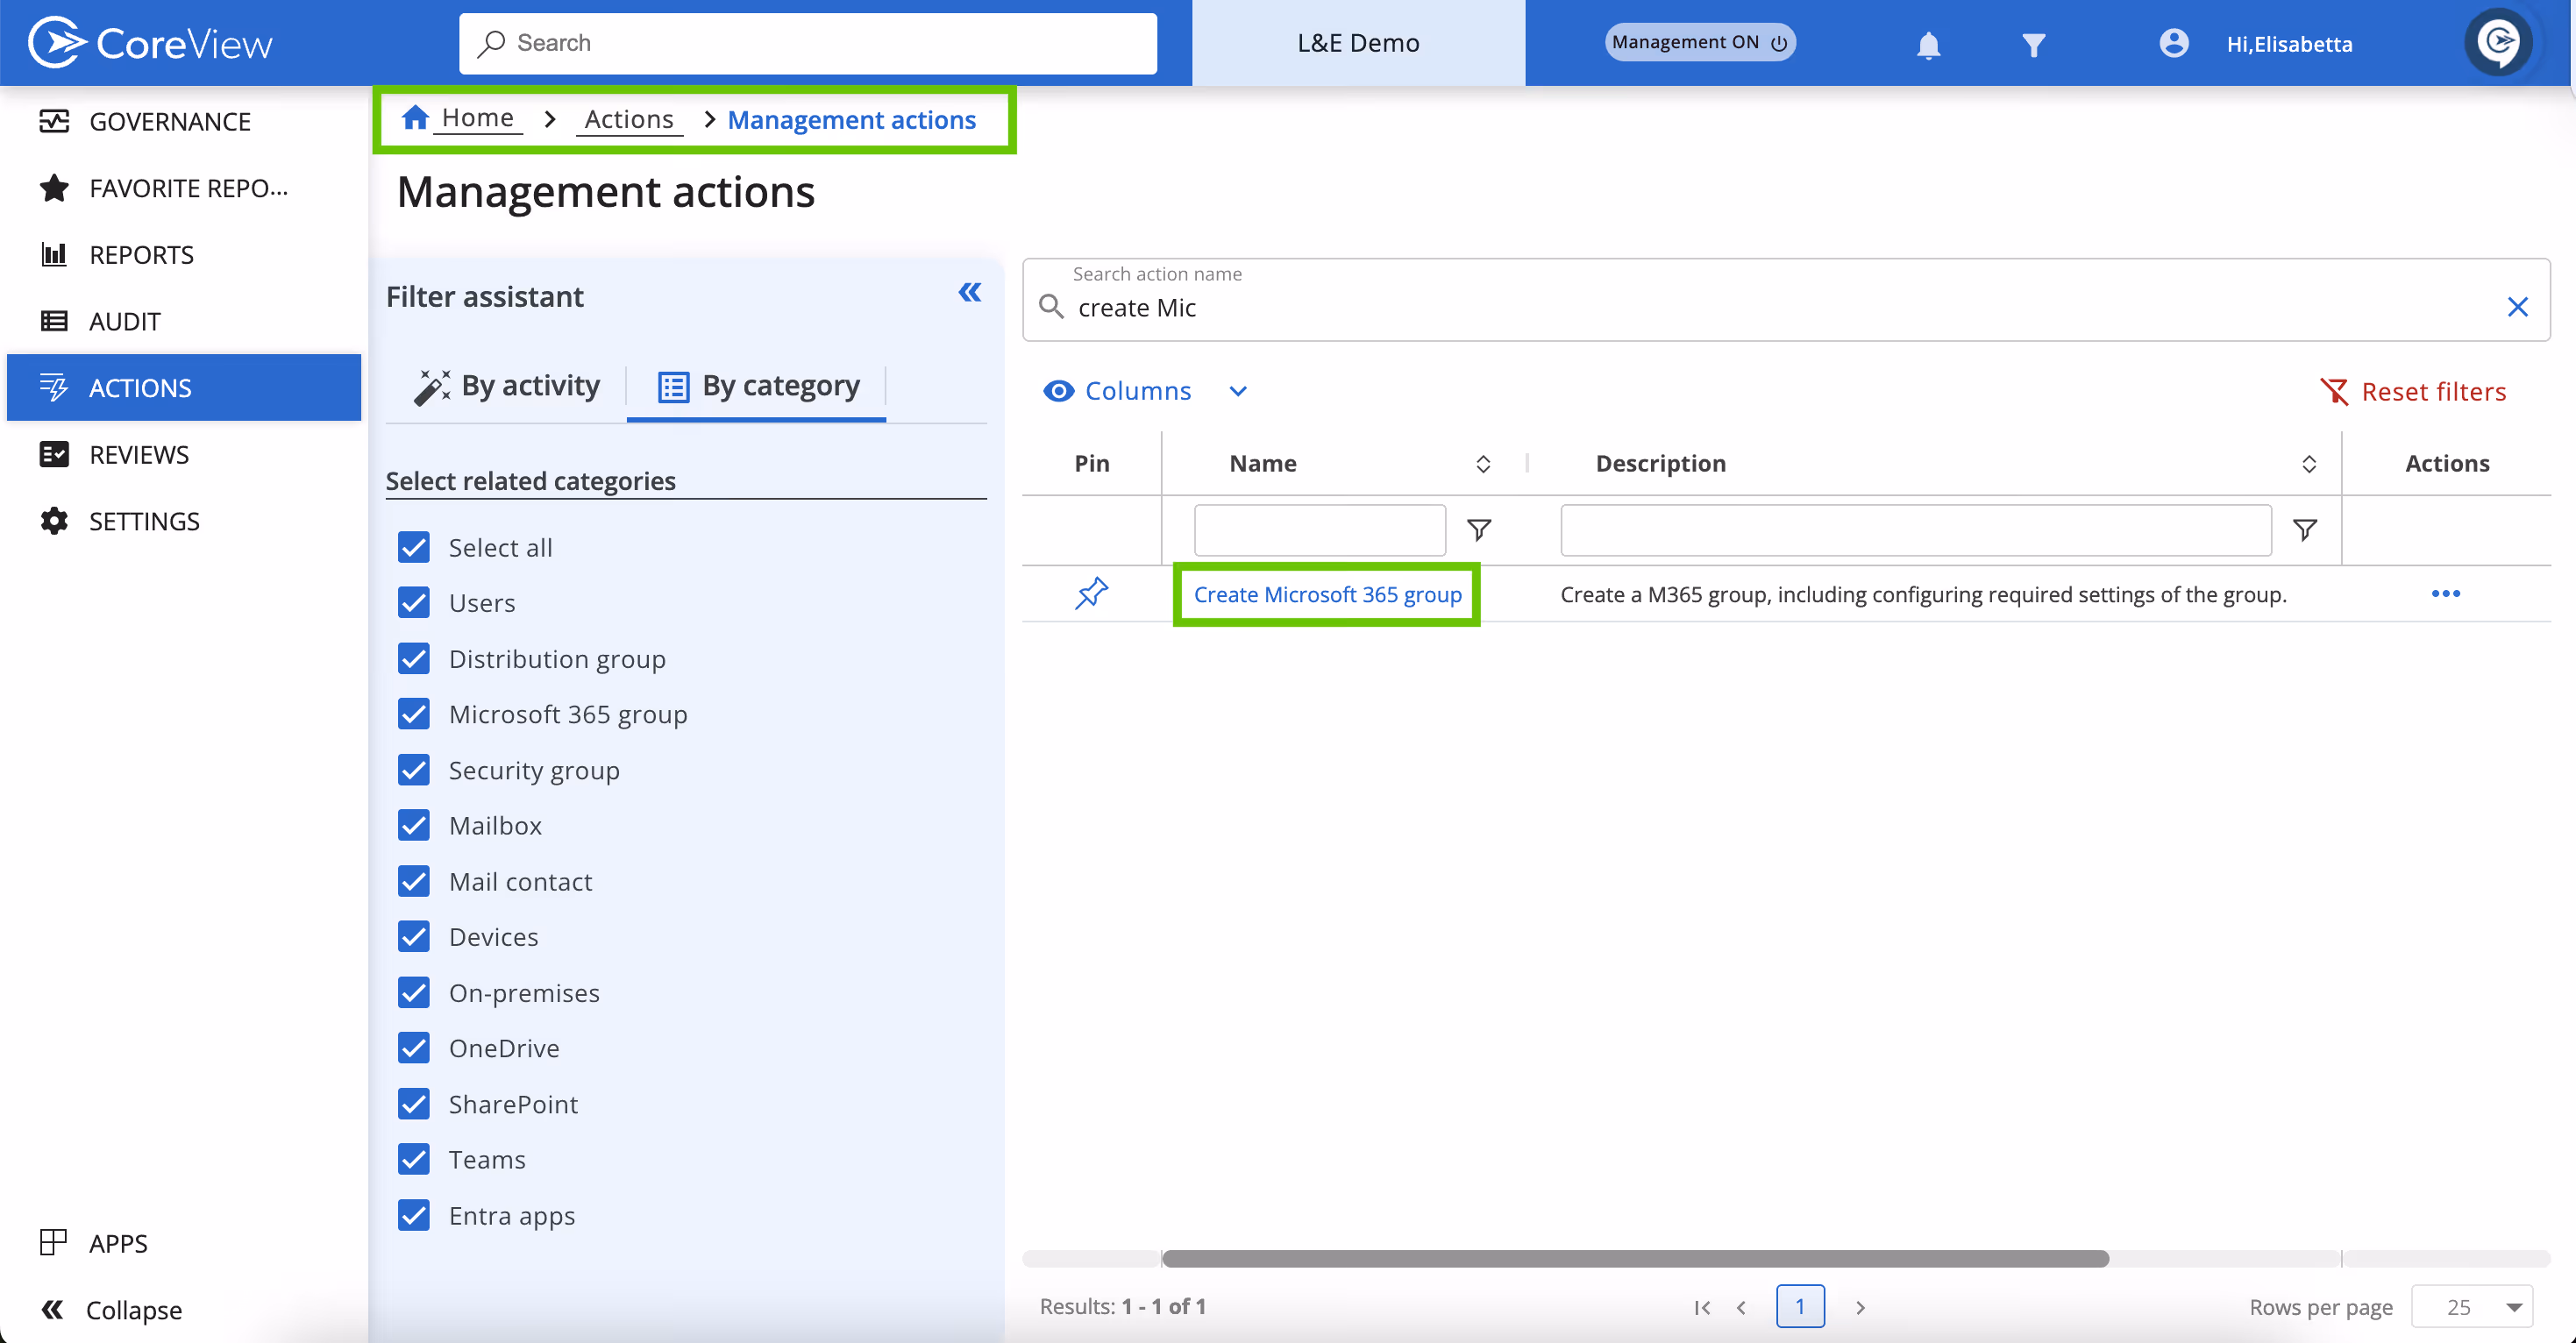
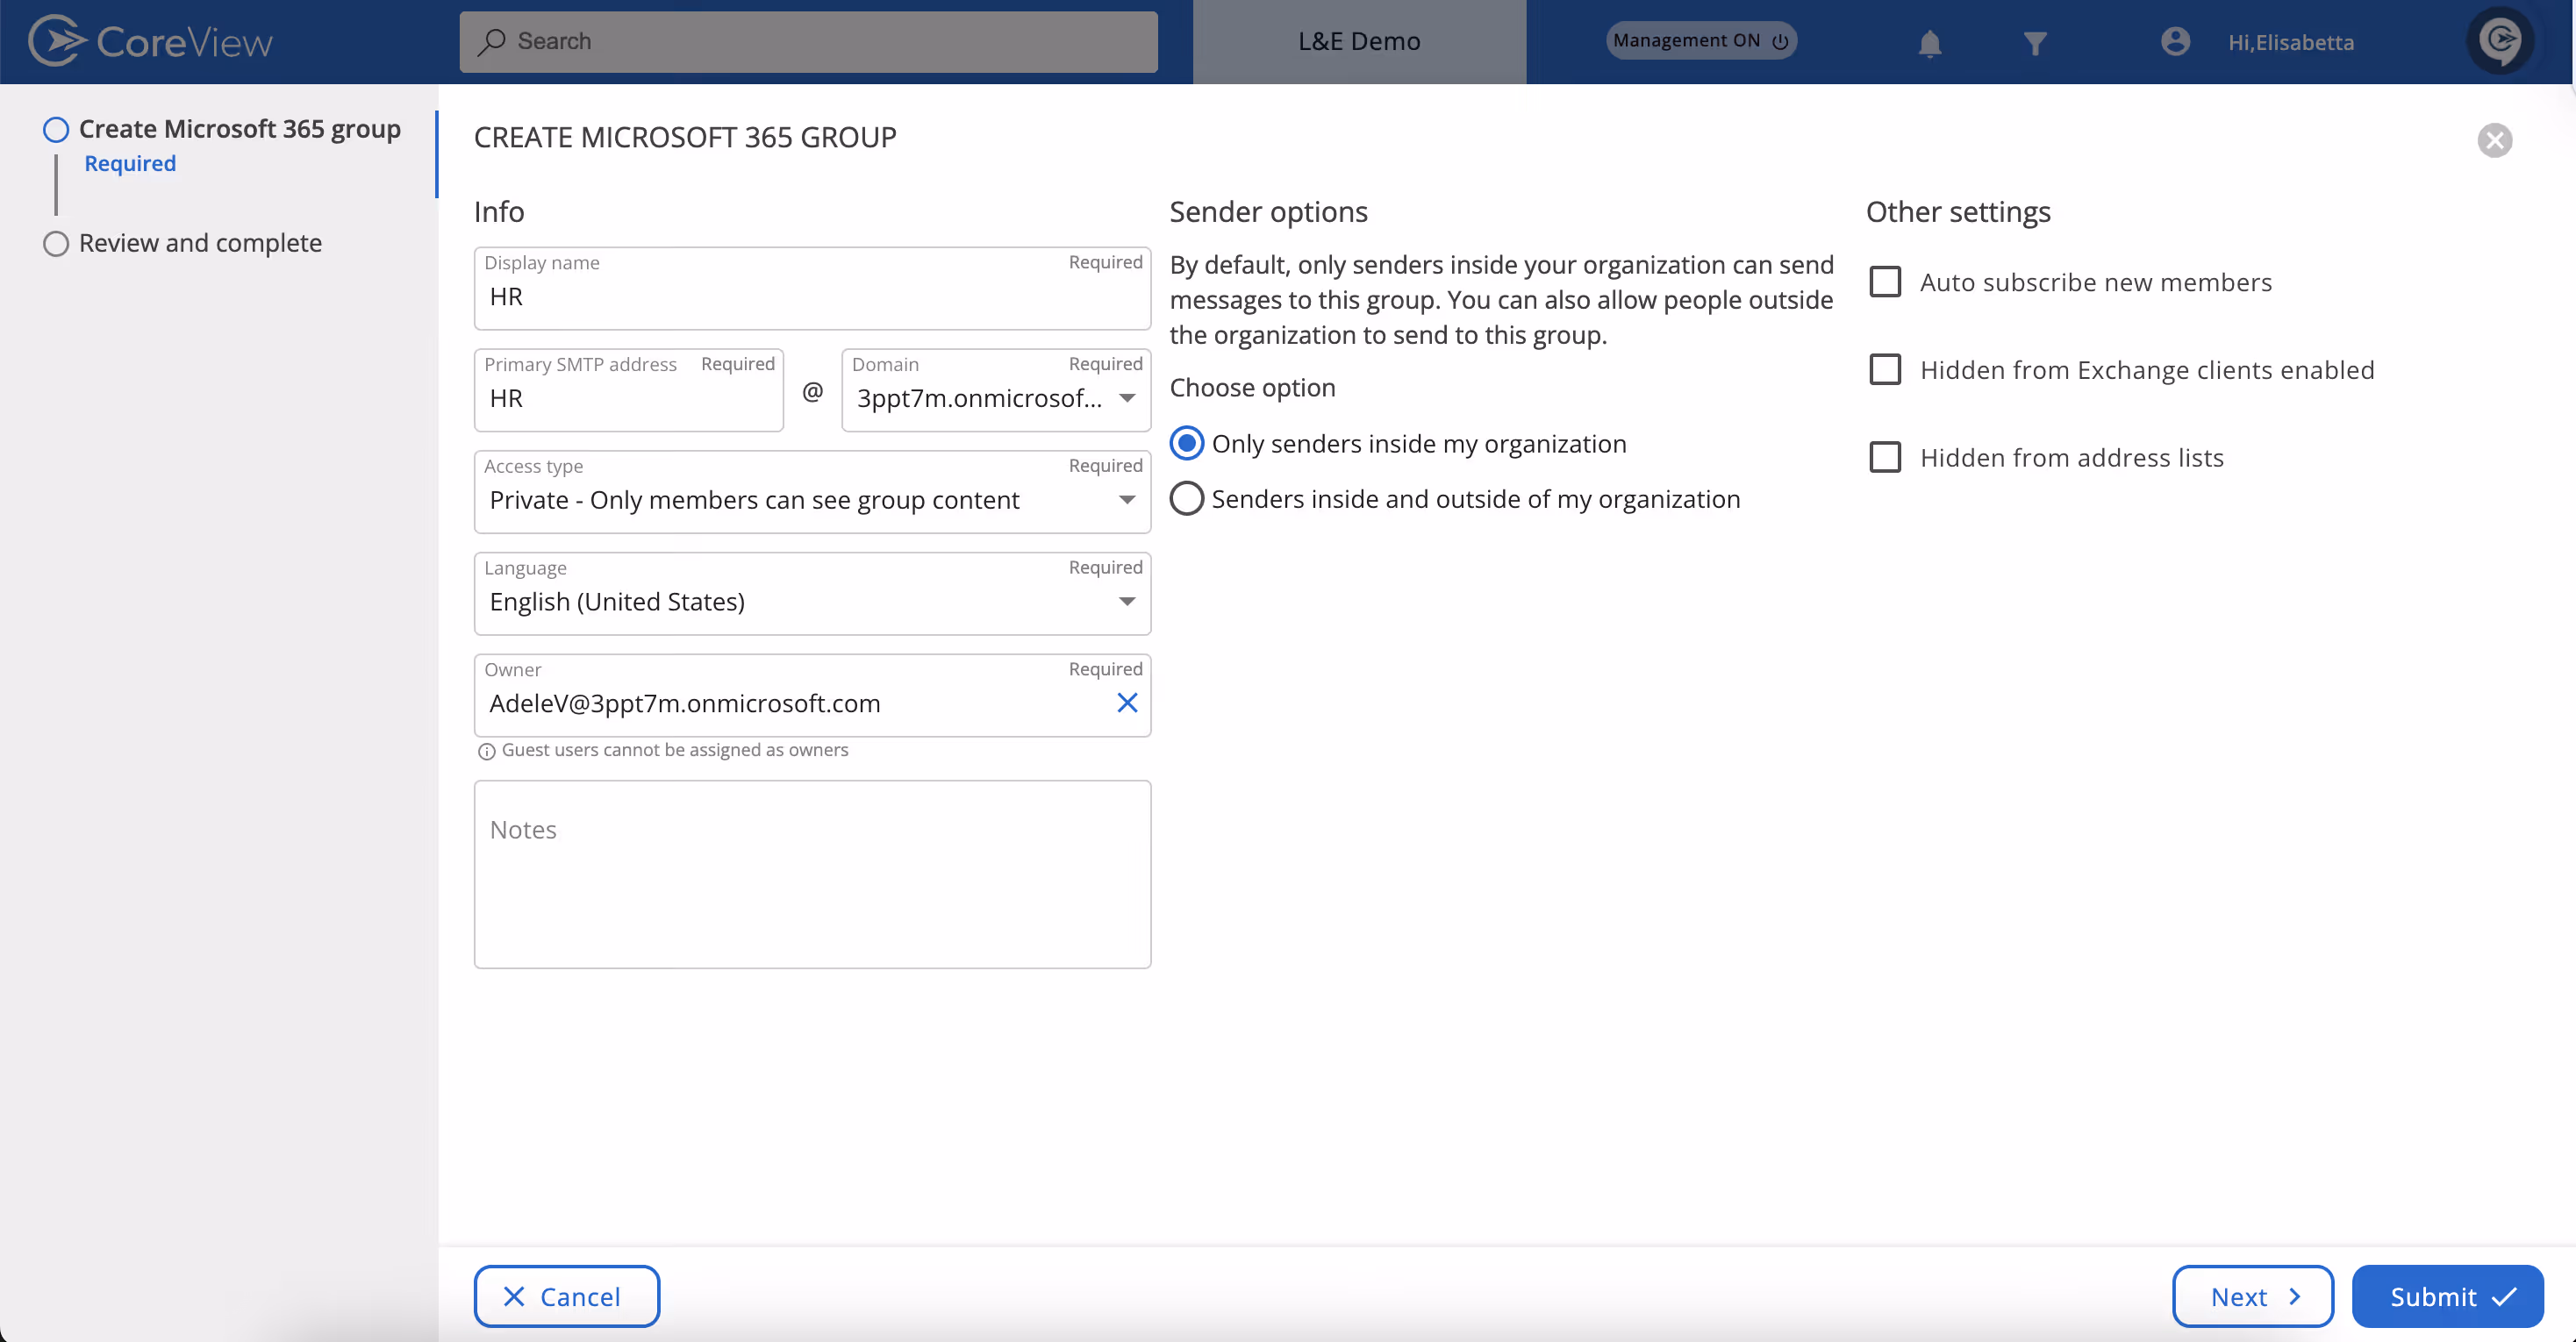
A Microsoft 365 group is the recommended option as it provides teams with a shared workspace for communication, file sharing, appointments, emails, contacts, and other mailbox items.
Here are three methods to create Microsoft 365 groups to improve collaboration among users, both inside and outside your organization:
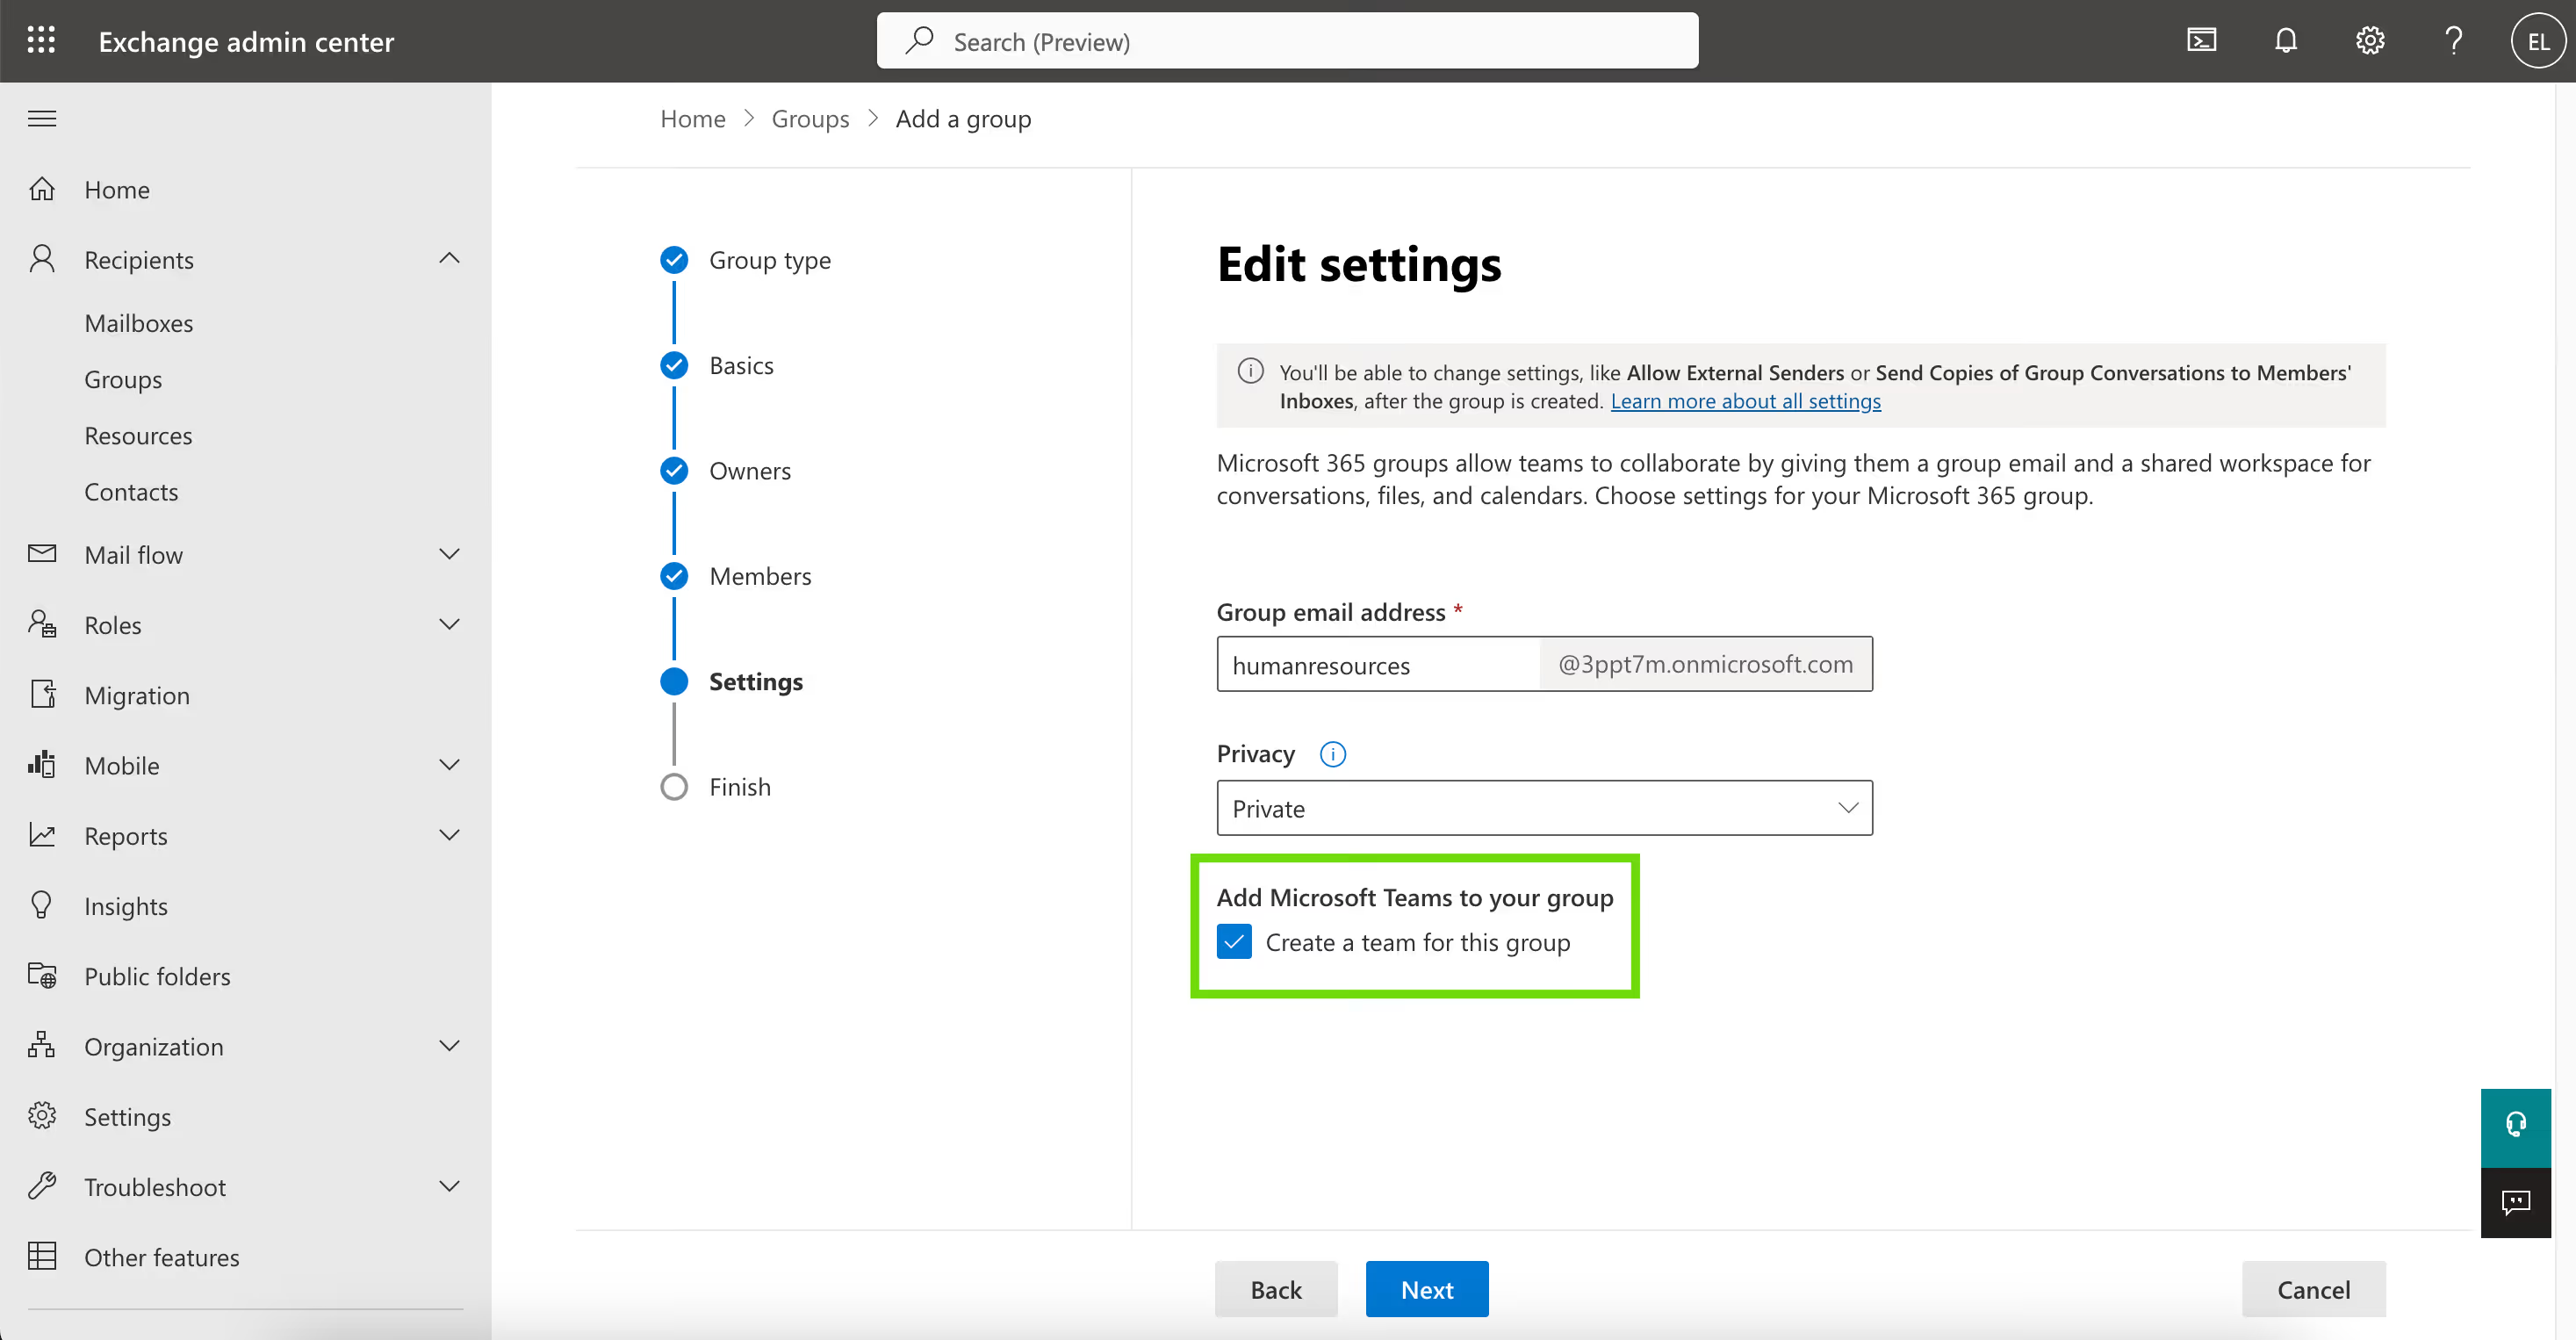
6. Click on “Finish” to create your Microsoft 365 group.
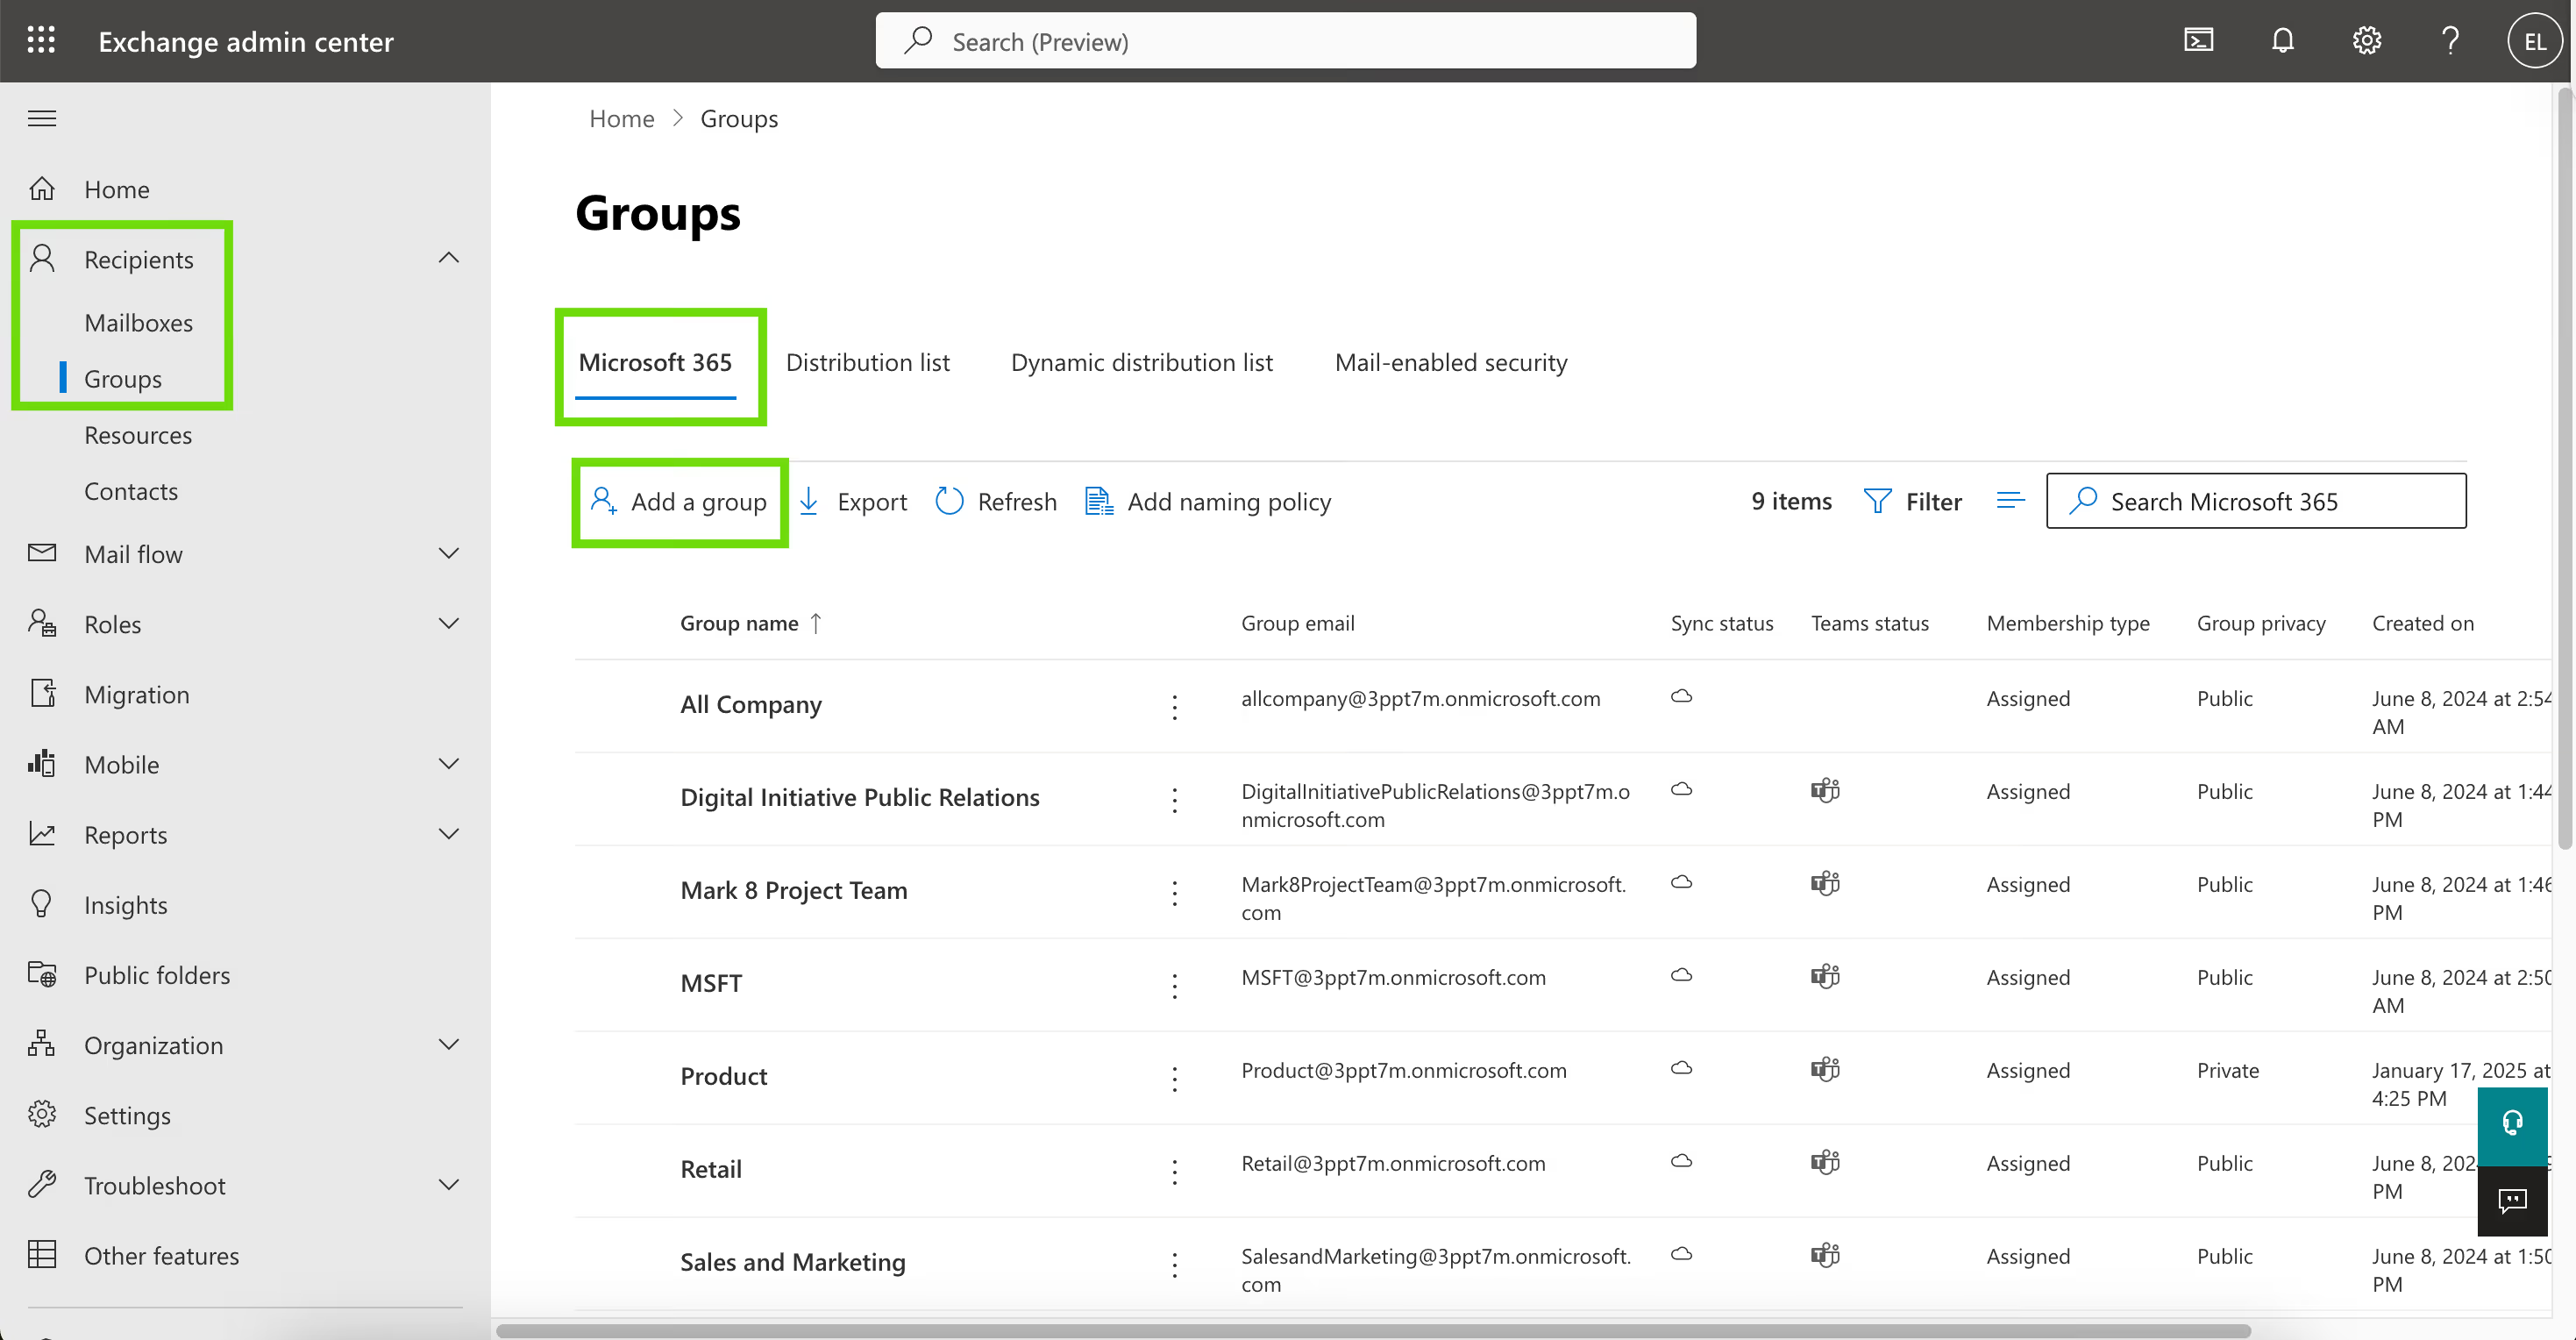
Use the New-UnifiedGroup cmdlet to create Microsoft 365 groups in your cloud-based organization.
To add members, owners, and subscribers to Microsoft 365 groups, use the Add-UnifiedGroupLinks cmdlet.
This cmdlet cannot be used to create Microsoft 365 groups if you connect using certificate-based authentication (also known as CBA or app-only authentication for unattended scripts) or an Entra managed identity. Instead, you can use Microsoft Graph. For more information, see Create group.
For more details, please refer to the New-UnifiedGroup article.