Ivan Fioravanti, Co-founder and CTO for CoreView, uses his system engineer and .NET development skills to lead CoreView’s technology team. He’s passionate about AI, automation and all things Microsoft 365.
This article will guide you through managing SharePoint External Sharing settings. You can adjust these settings either via the SharePoint admin center or using CoreView. Let's take a look at both methods:
Method 1: Manage External Sharing via SharePoint Admin Center
To modify the sharing settings for a site (formerly known as a “site collection”), you must be either a Global Administrator or SharePoint Administrator in Microsoft 365. Please note that site owners do not have permission to change these settings.
Follow the steps below to modify the external sharing setting:
Step 1: Access SharePoint Site Sharing Settings
Ensure you sign in using an account that possesses administrative permissions for your organization.
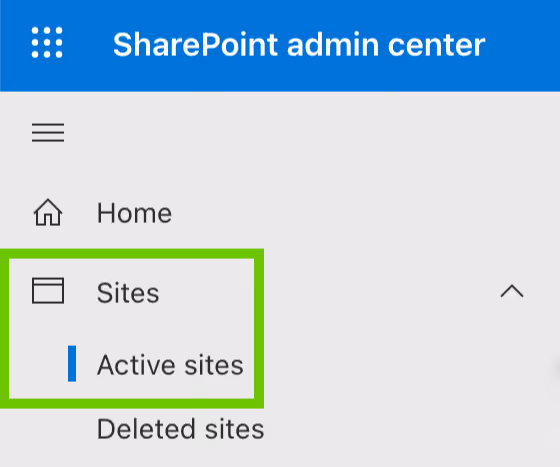
Navigate to “Active sites” in the SharePoint admin center.
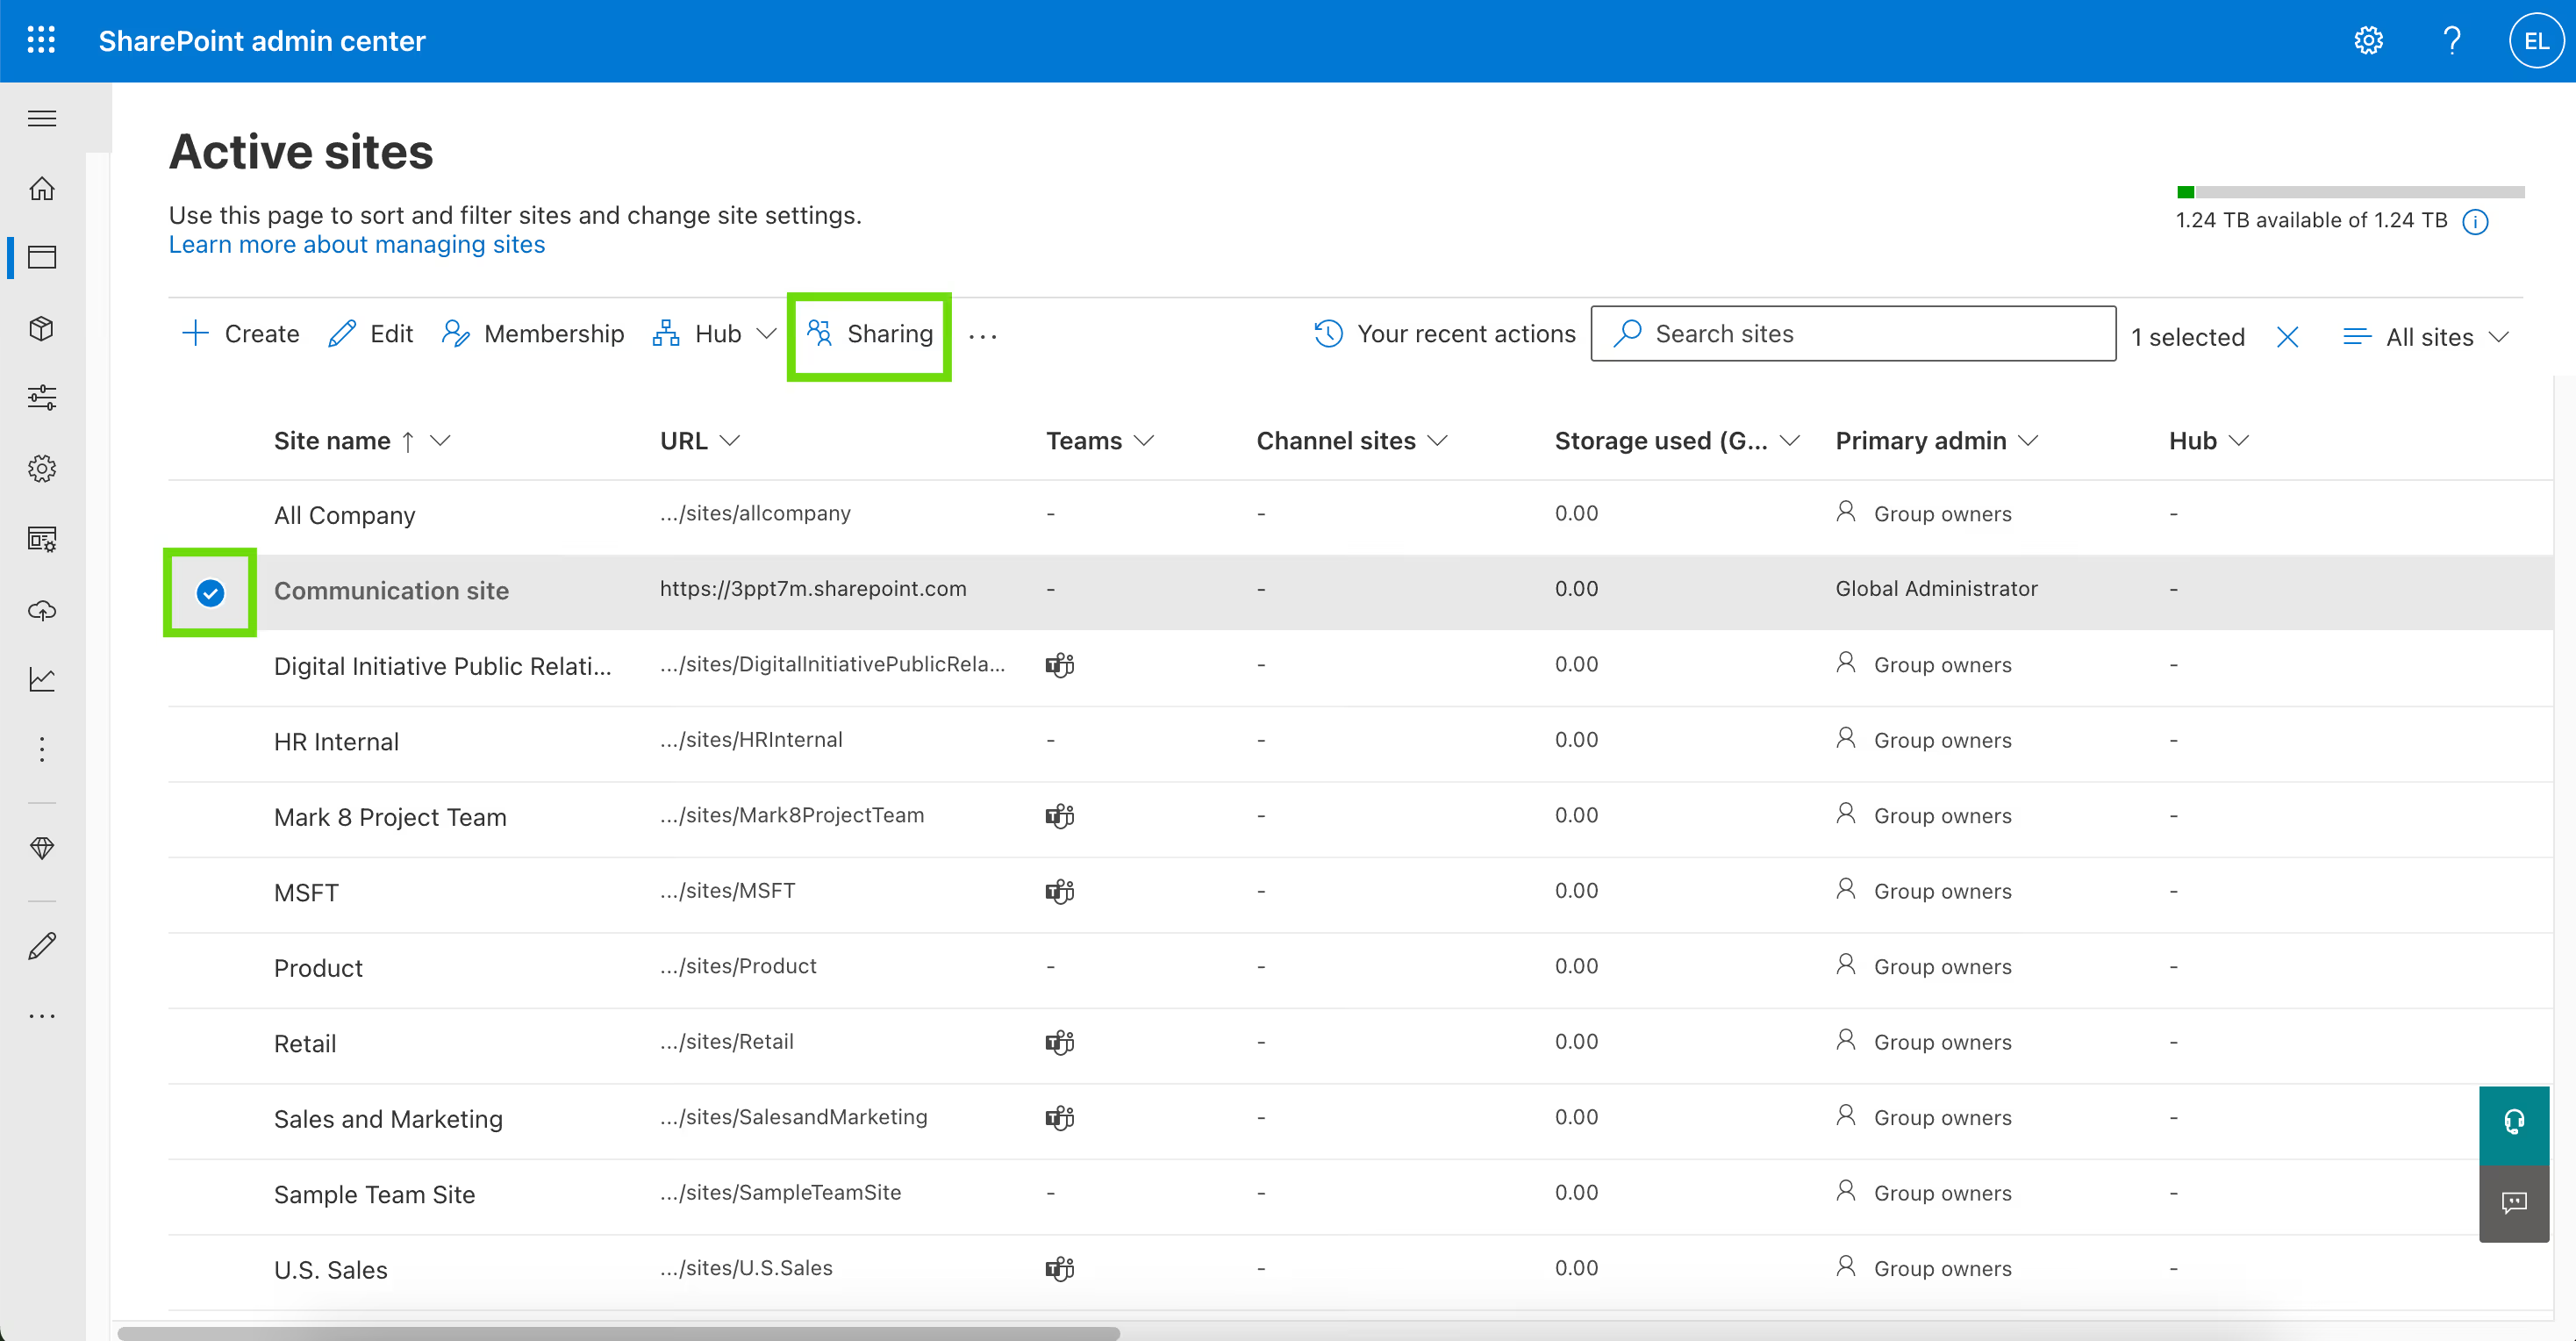
In the first column, choose the site you wish to manage.
Select “Sharing” from the menu at the top.
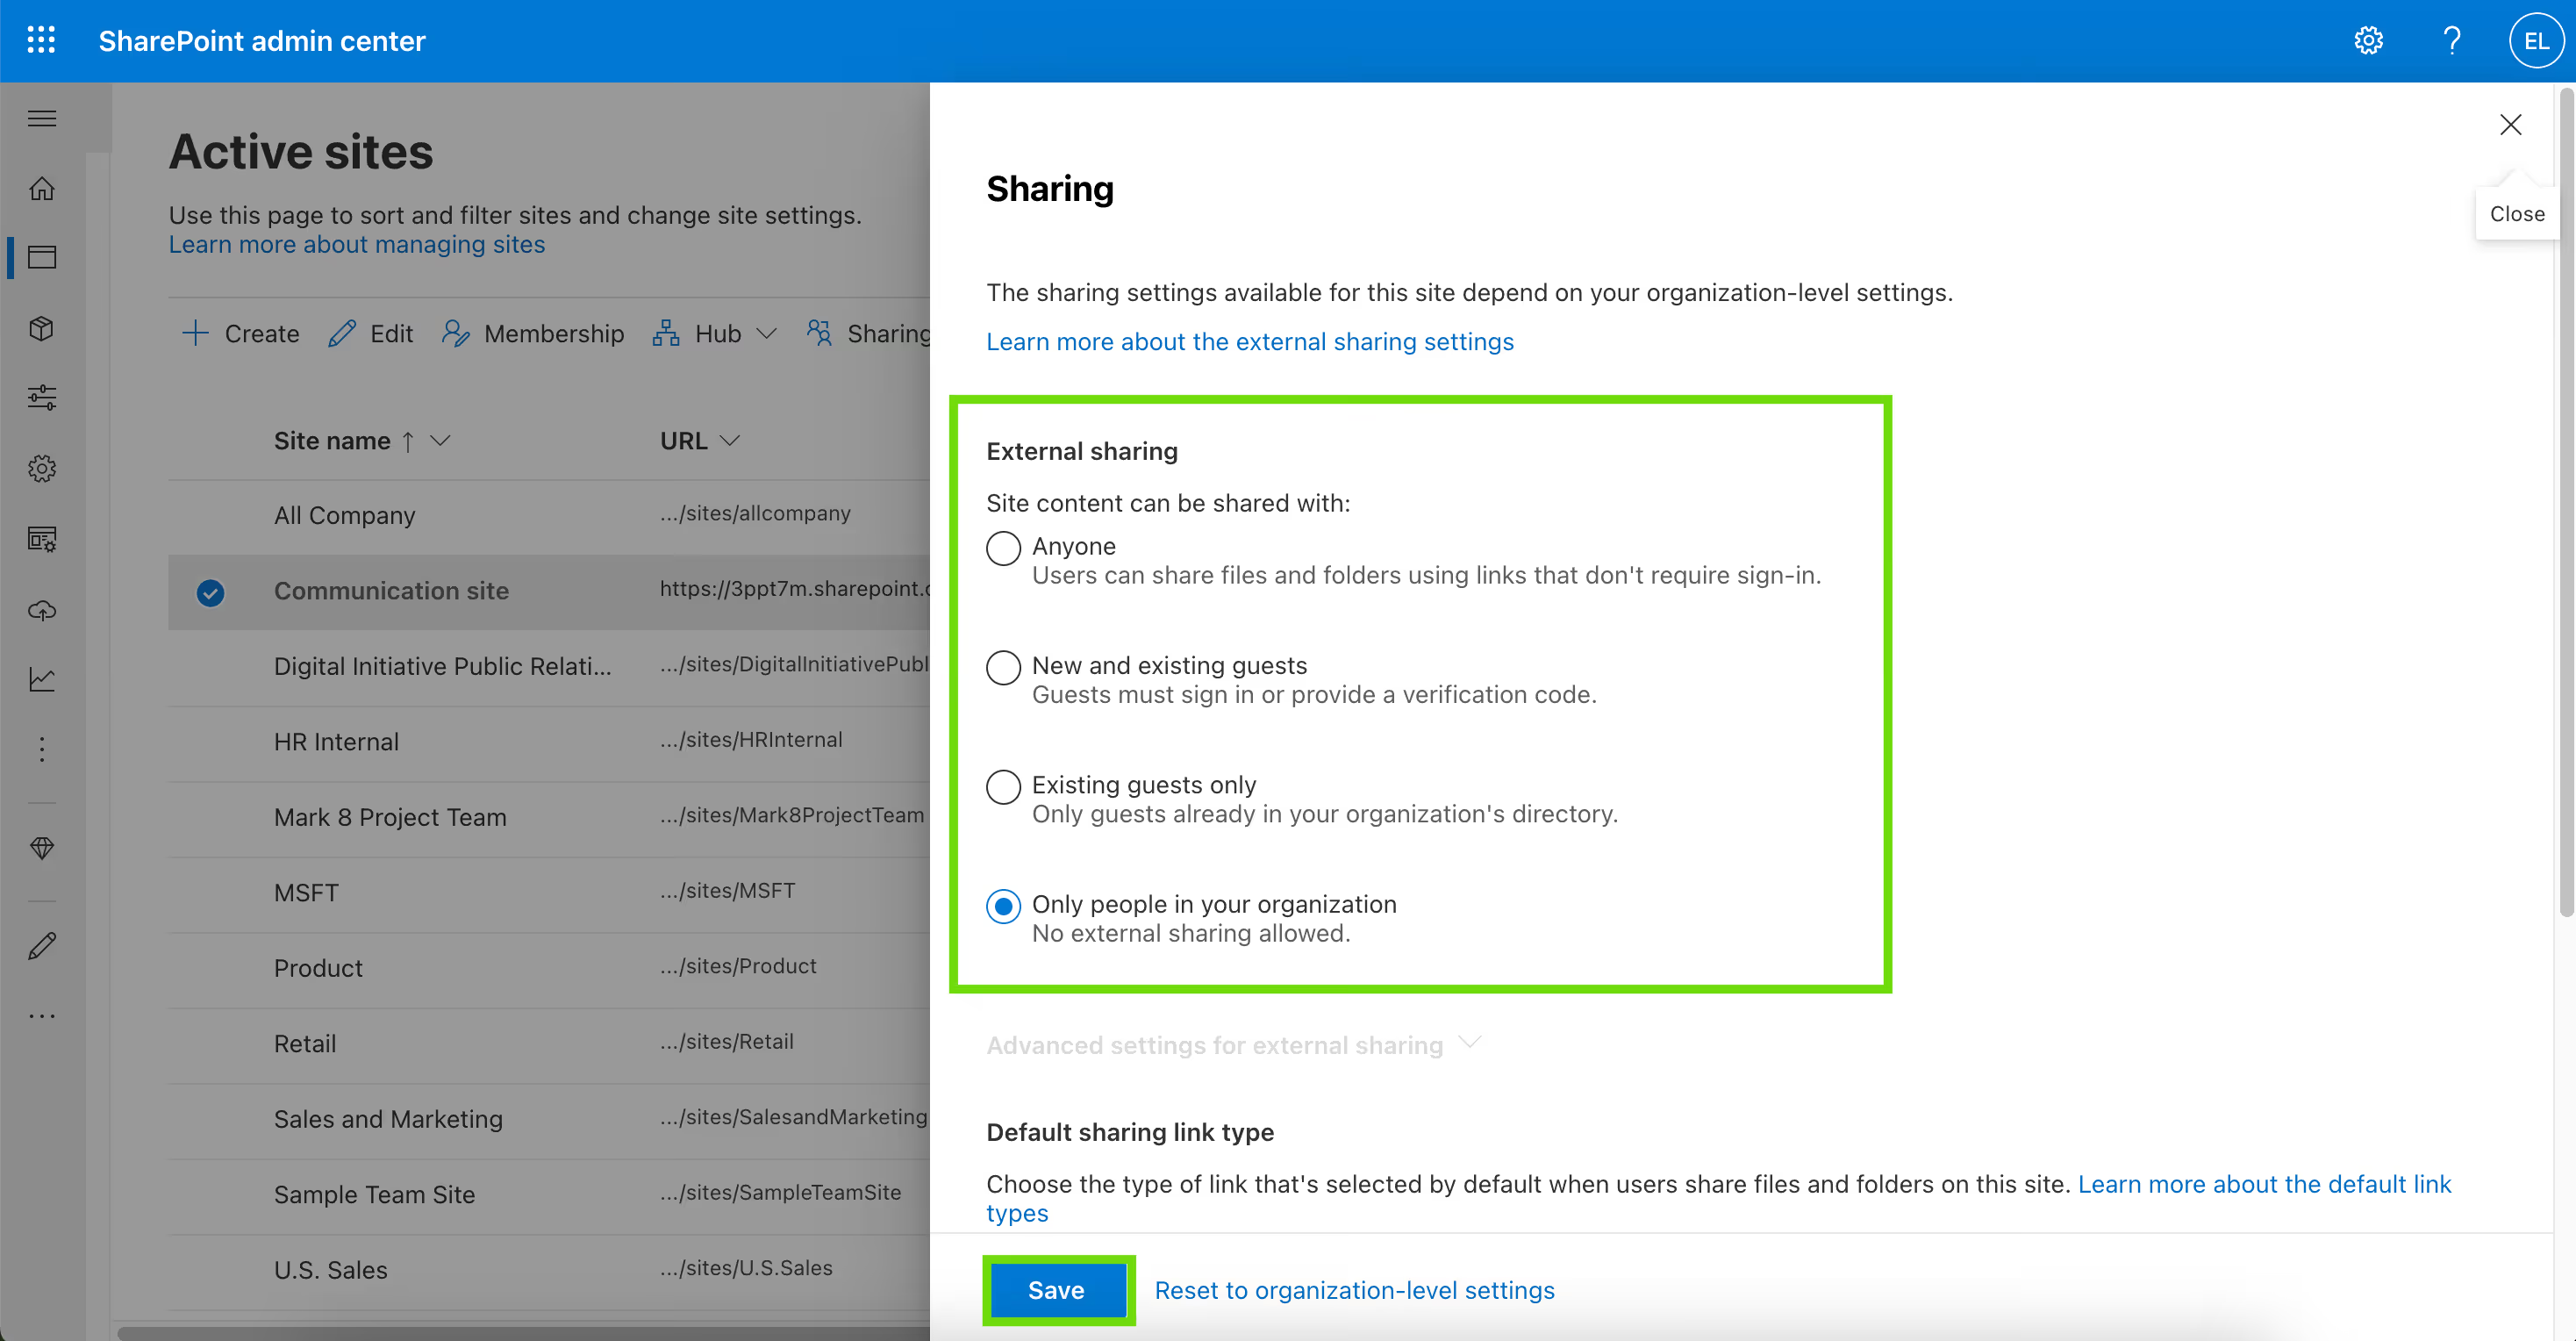
Choose the desired external sharing option and press “Save”.
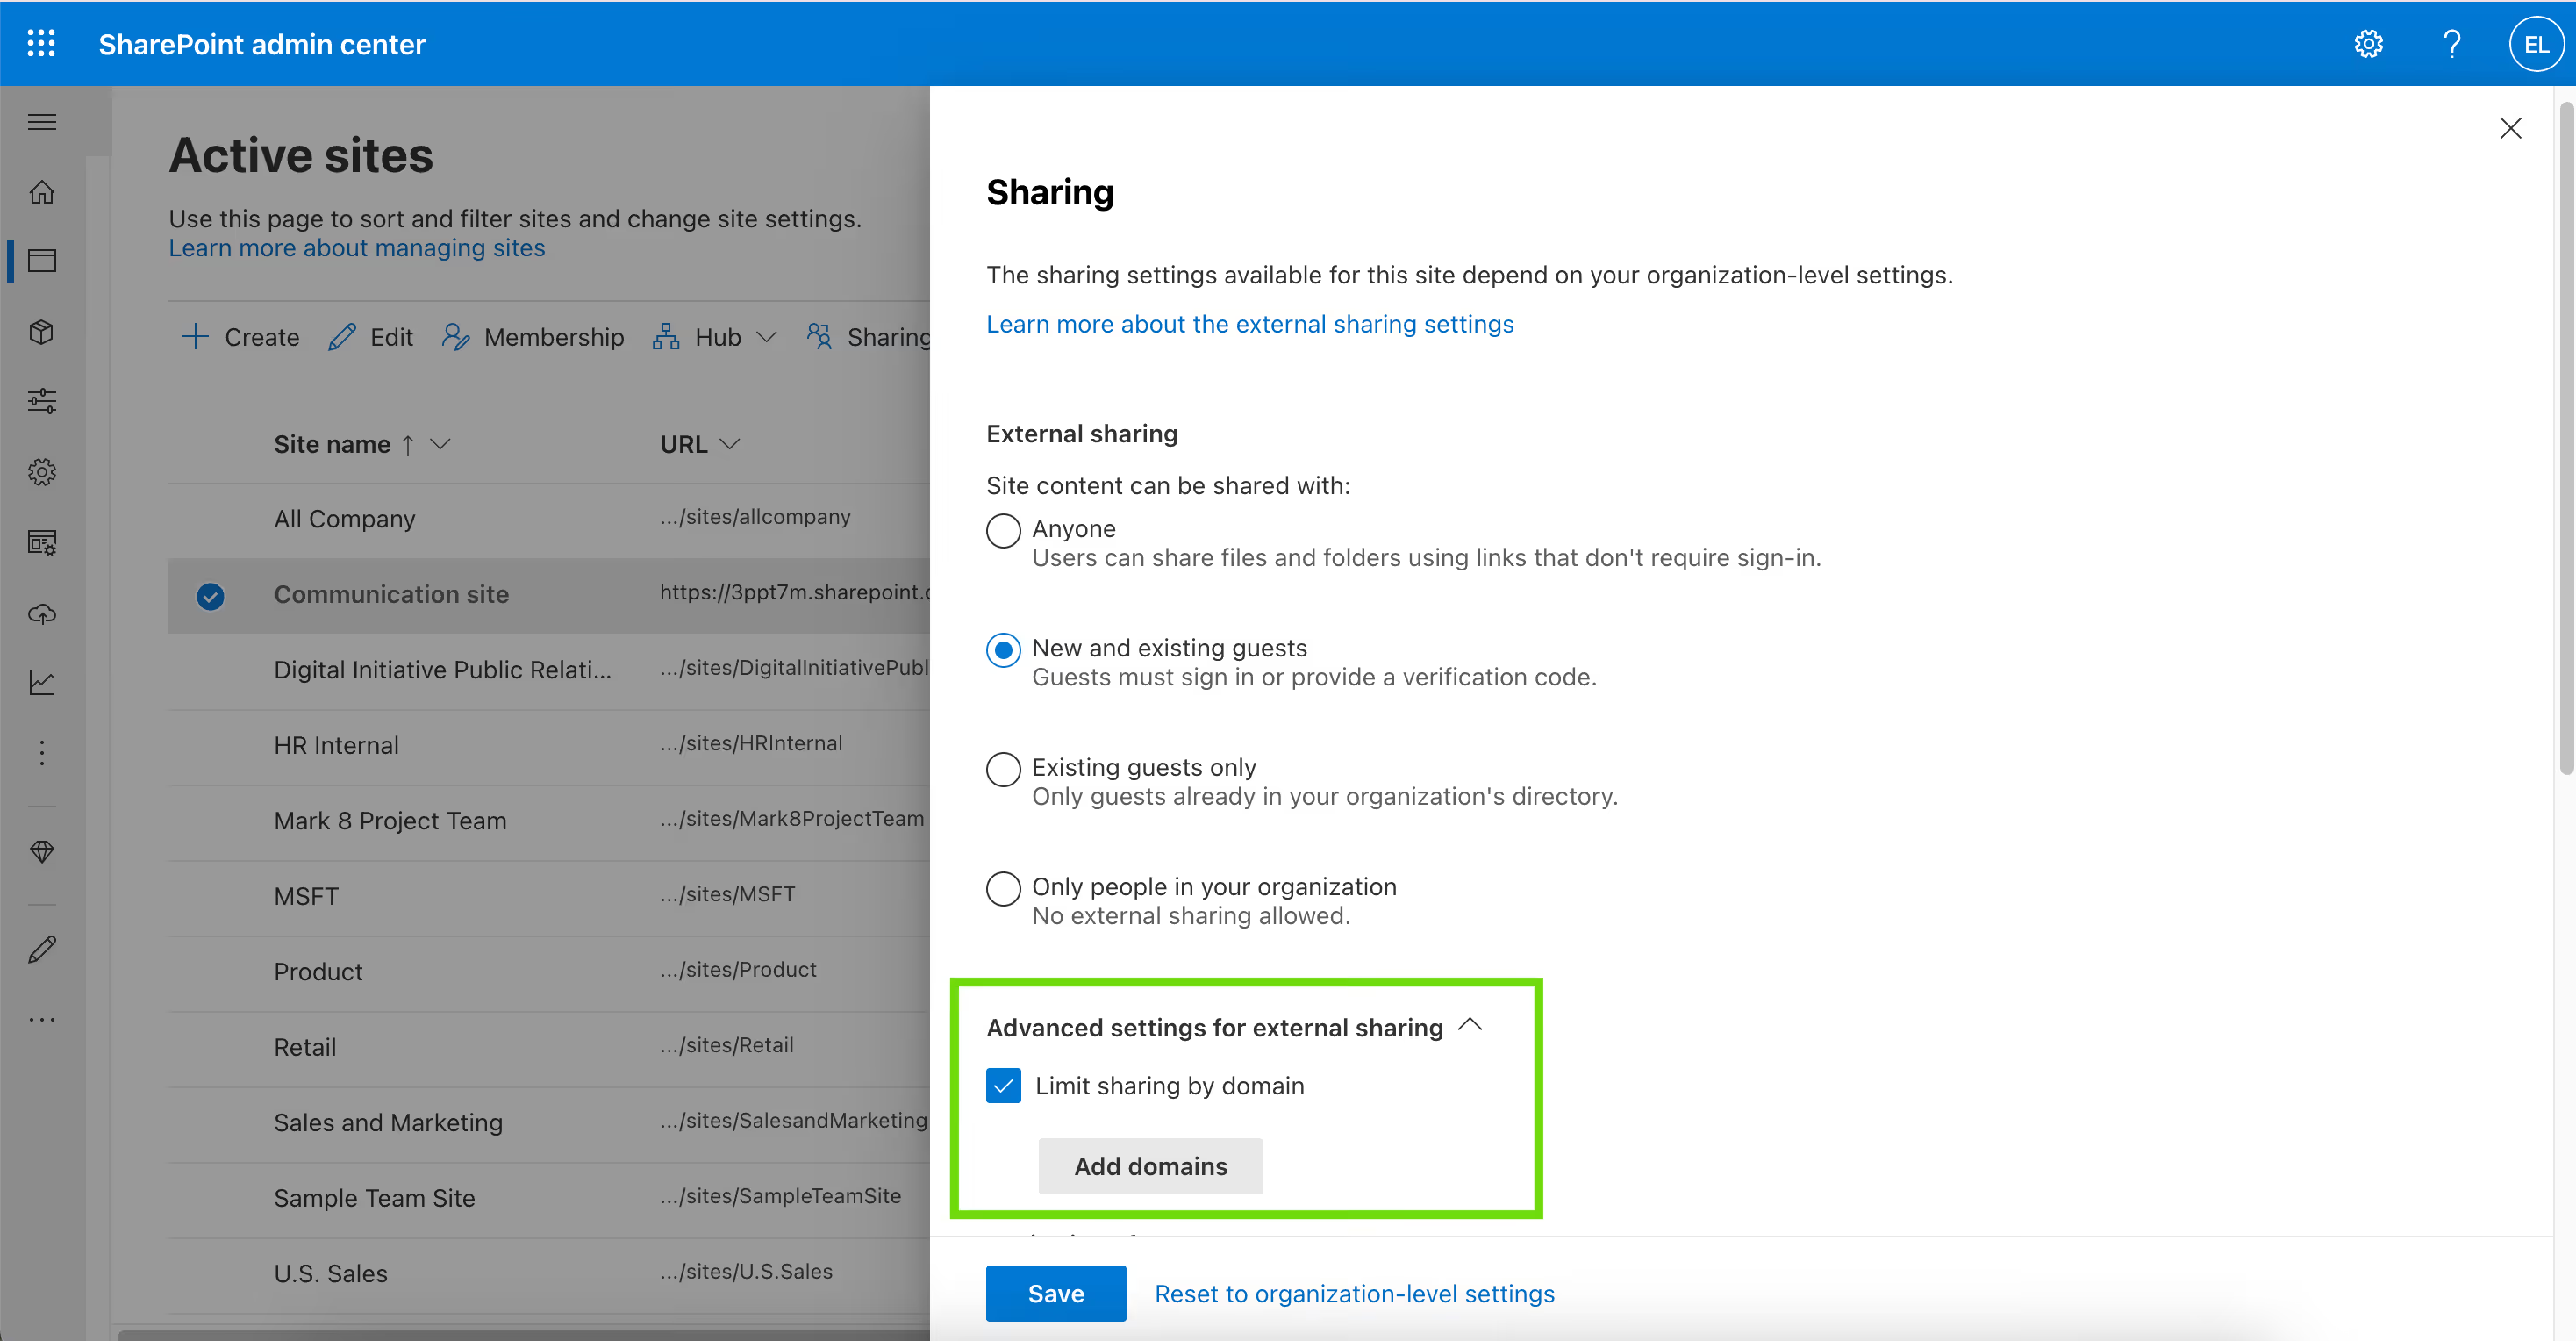
Step 2: Restrict Sharing by Domain (Optional)
Should you wish to restrict this site's sharing by domain, follow these steps:
Expand “Advanced settings for external sharing”.
Tick the “Limit sharing by domain” checkbox.
Add the domains that you wish to either allow or block.
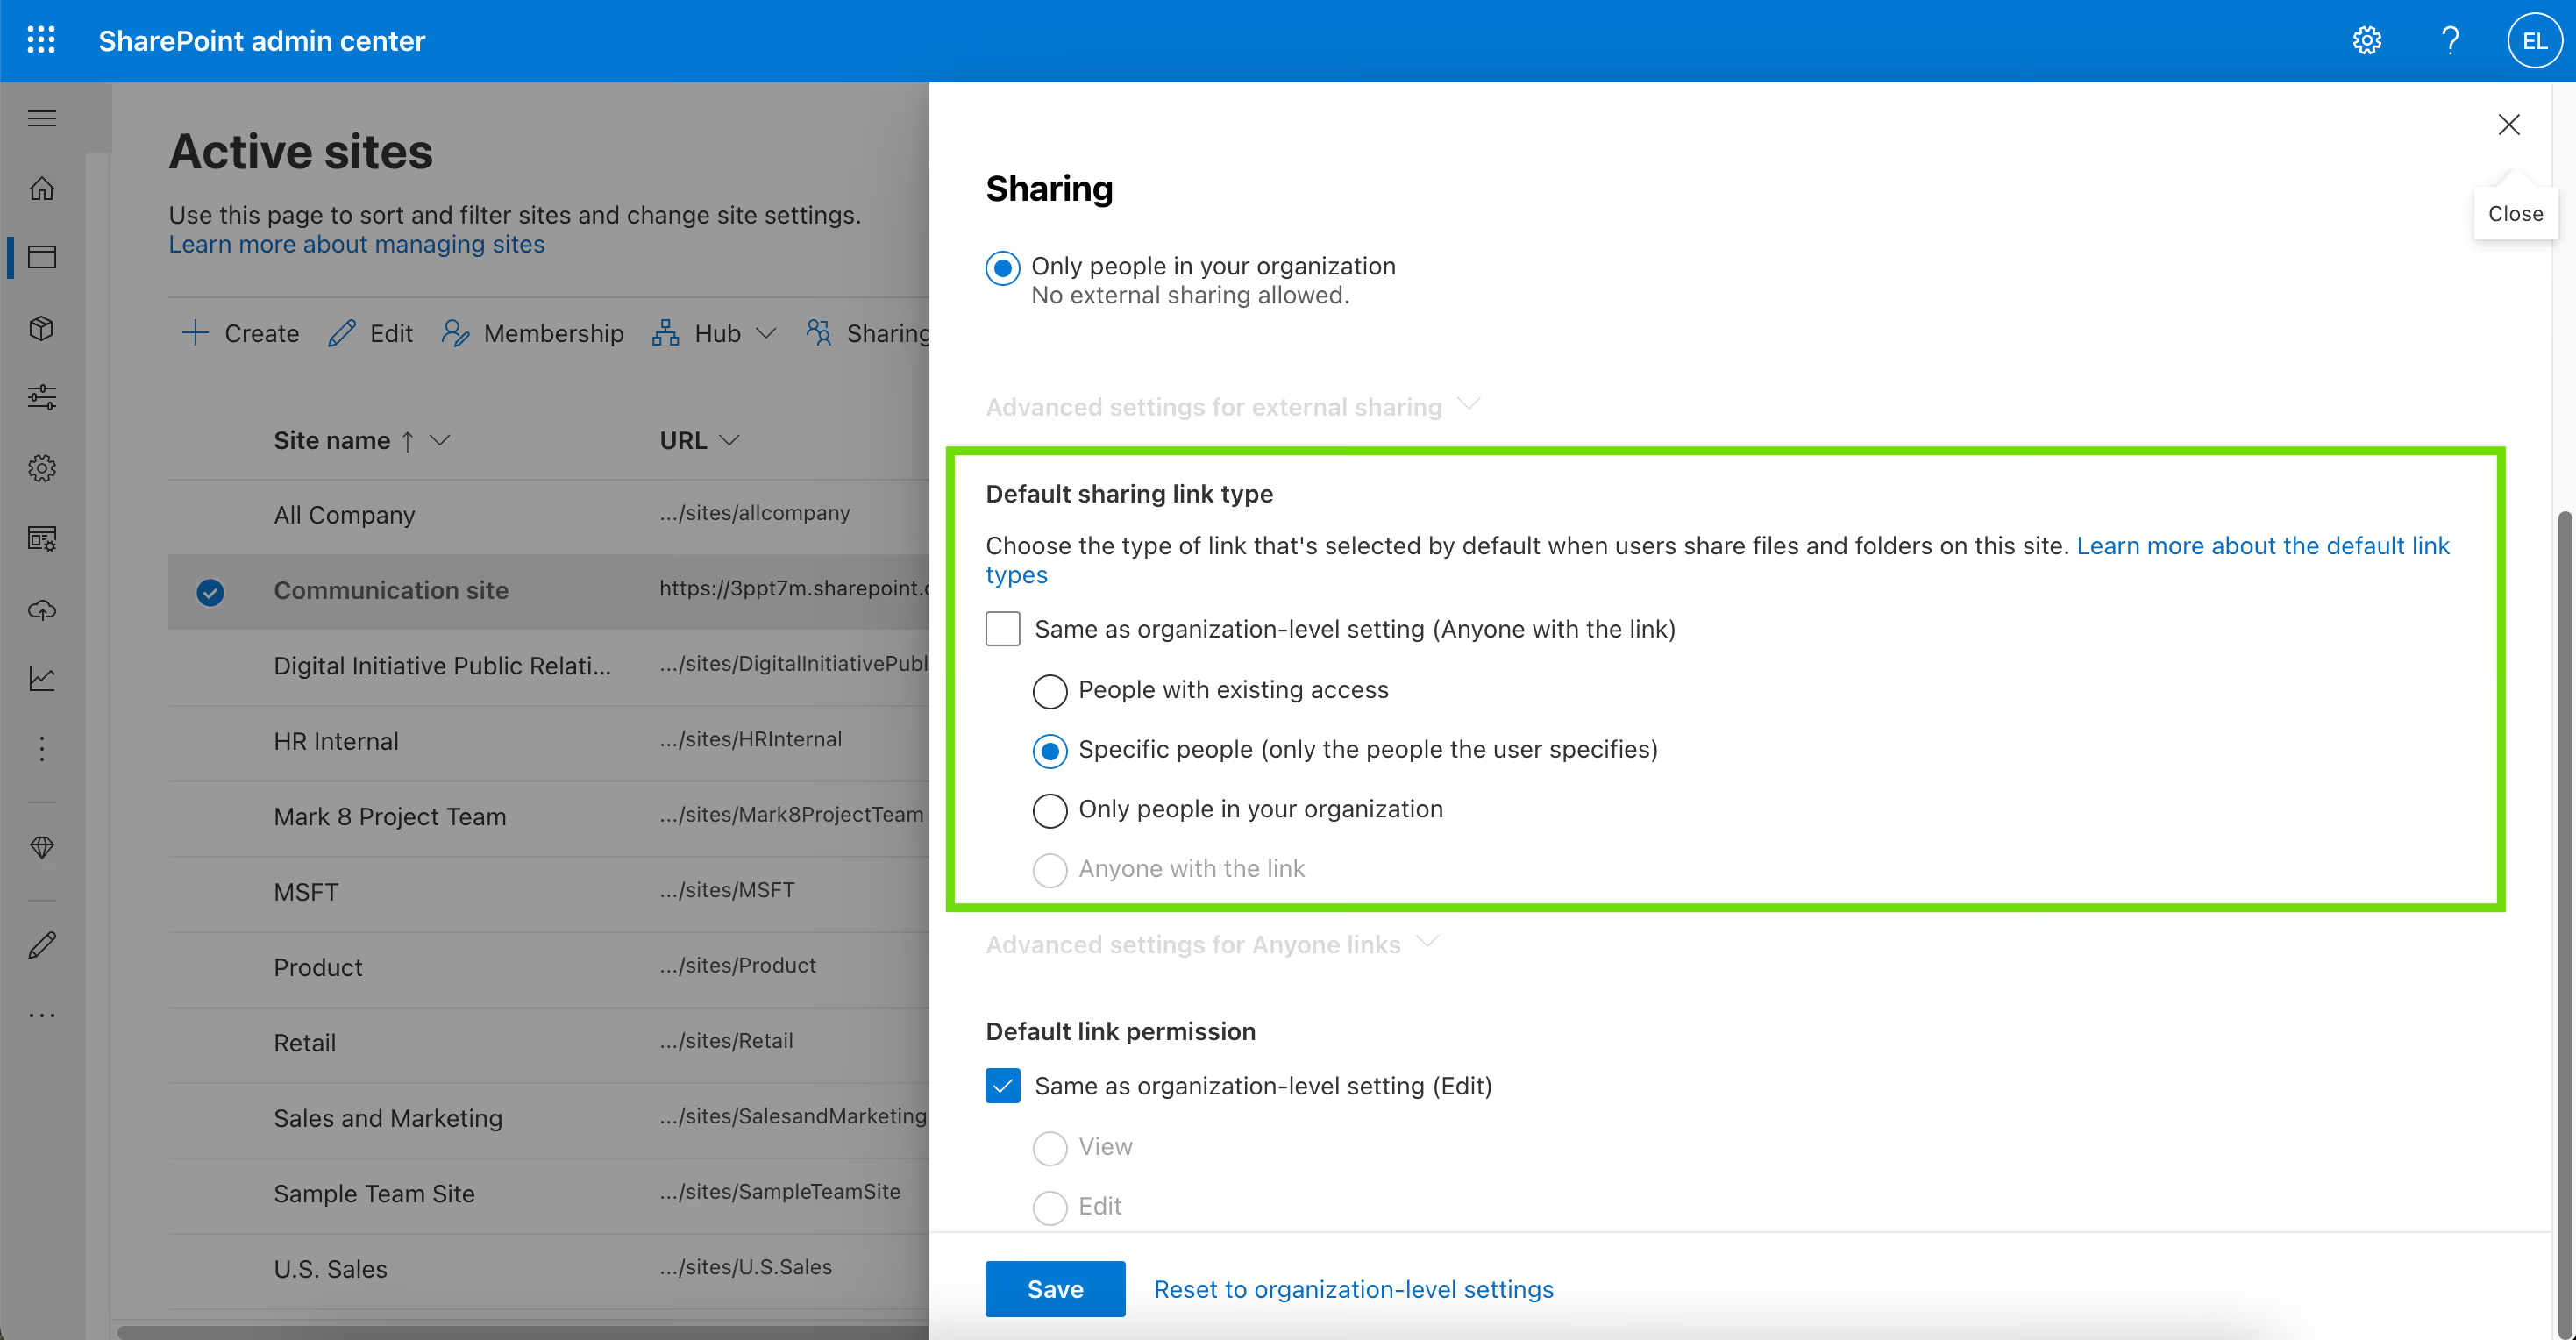
Step 3: Set the Default Sharing Link Type for a Site
To alter the default sharing link type or permissions for this site, follow these steps:
Uncheck the “Same as organization-level setting” checkbox.
Set the desired values that you want to apply to this site and press “Save”.
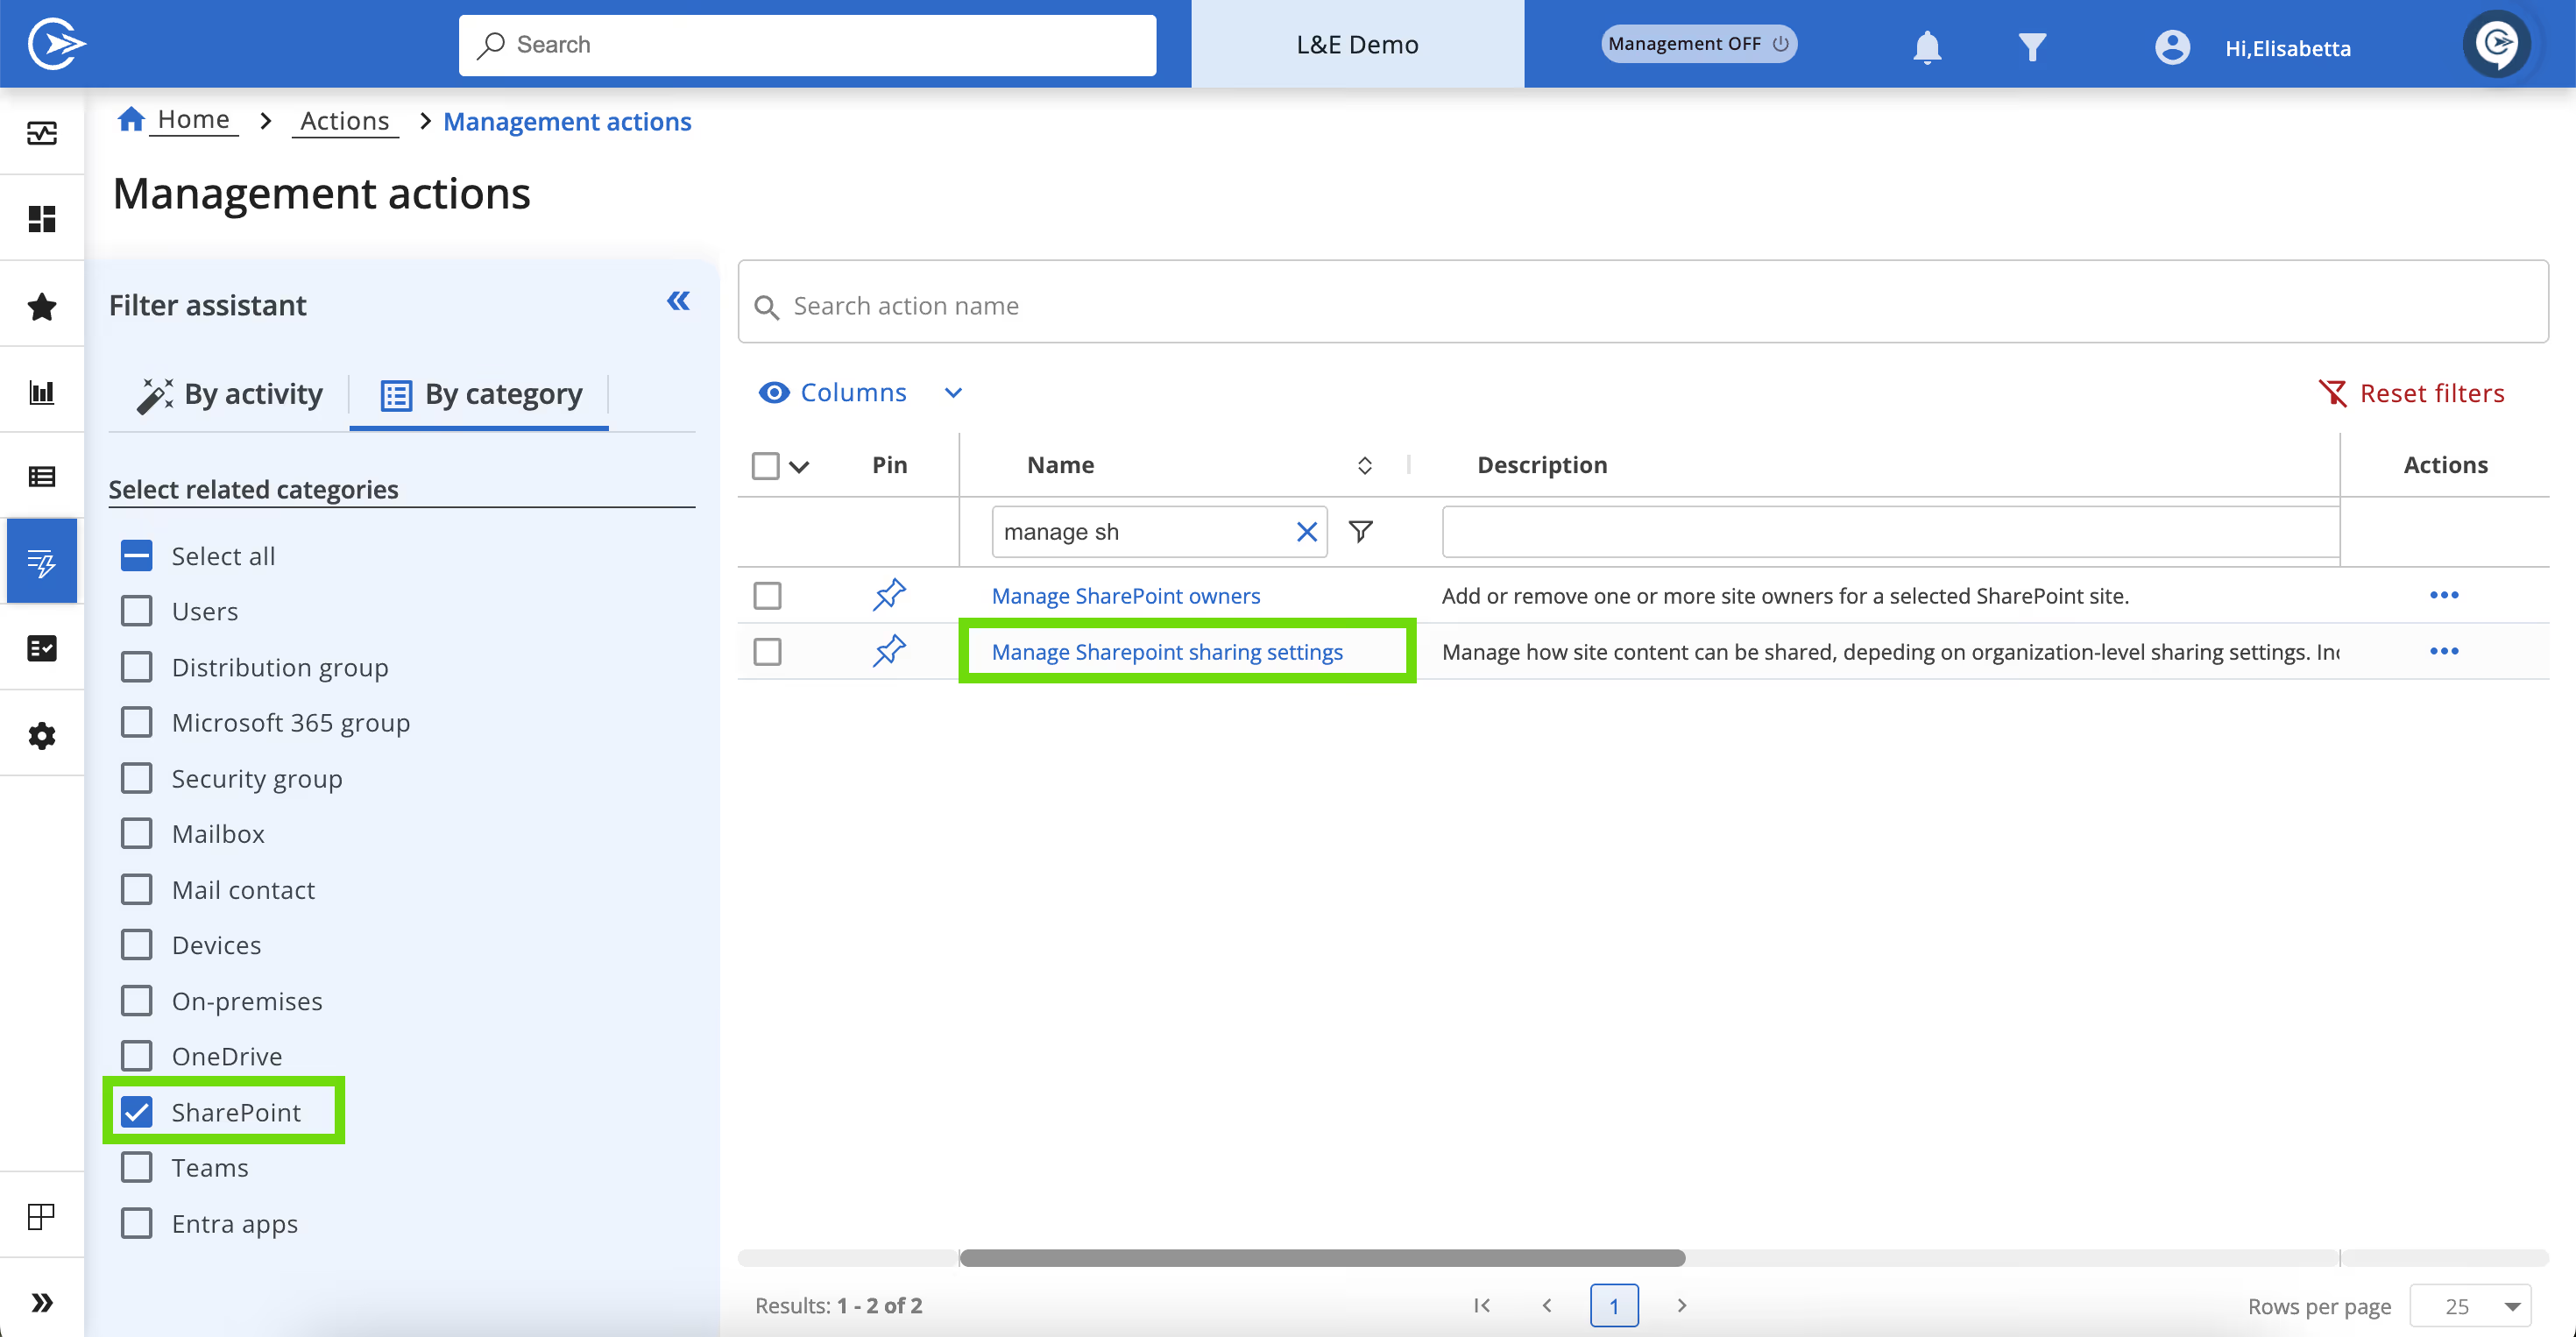
Click on “Manage SharePoint sharing settings” in the first column.
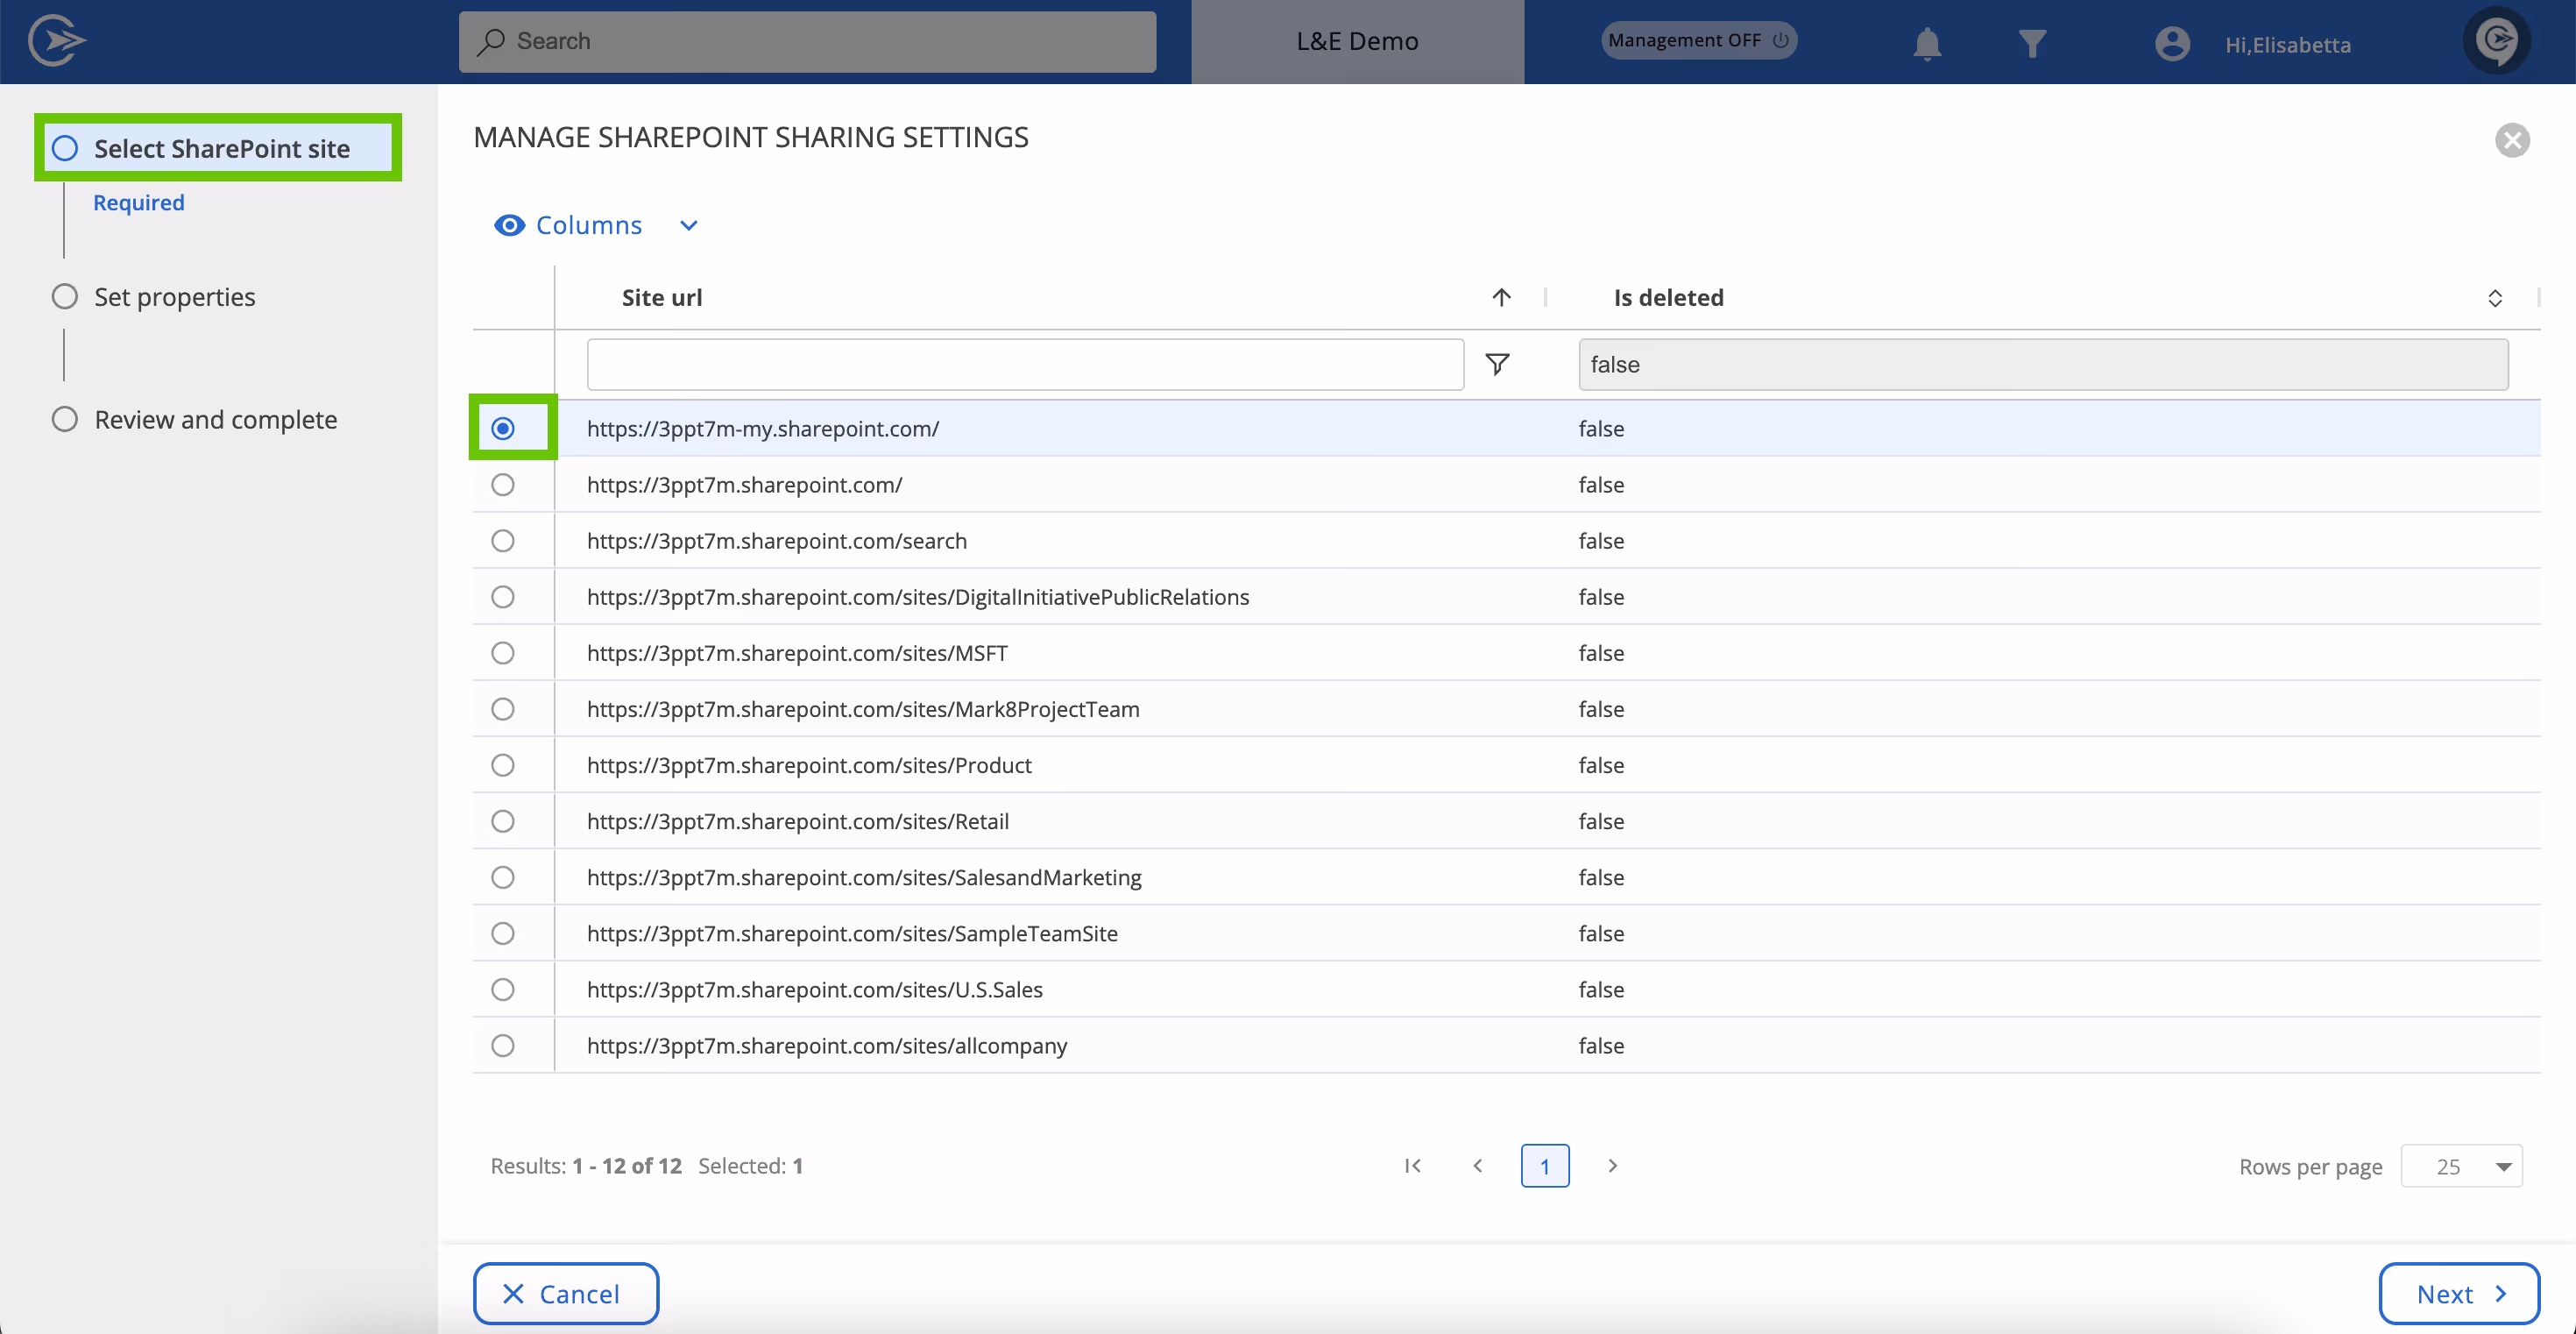
In the “Manage SharePoint sharing settings” wizard, select the site you wish to manage. You can also use the search bar to find a specific site.
Moving on to the “Set properties” tab, you will find all the available external sharing settings. Select your preferred options and click “Next” to review and submit the action.